BOX WEDDING CARD

DSC_0927s

After a long time I have stepped into my zone in the world of crafting. Box making was always my passion when it comes to crafting . This was one area which never got me bored cuz every single time I would learn and make a new pattern of box. Sometimes just a size difference would make the task so complicated because I would have to get the measurements right. Funny but that makes crafting a little less monotonous sometimes,  specially because you have to rack your brains to get things done.

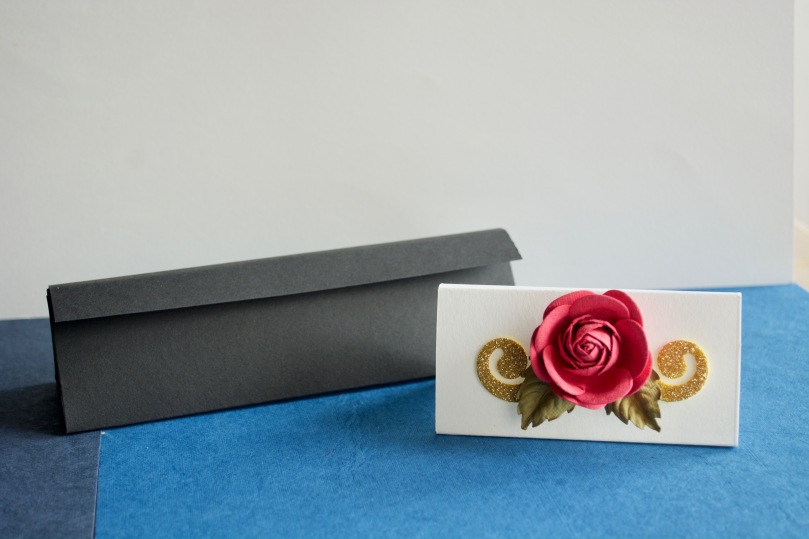
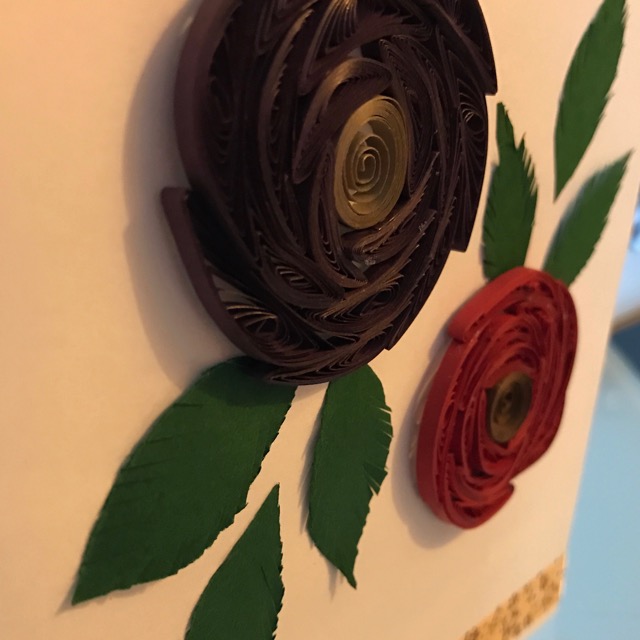
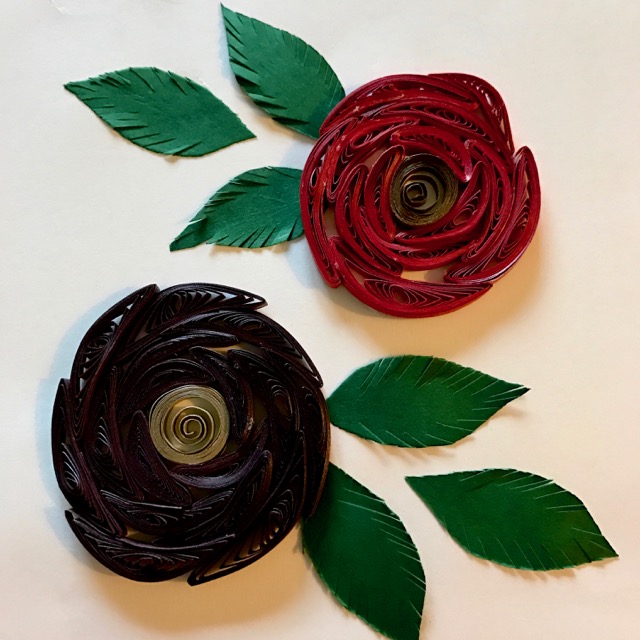
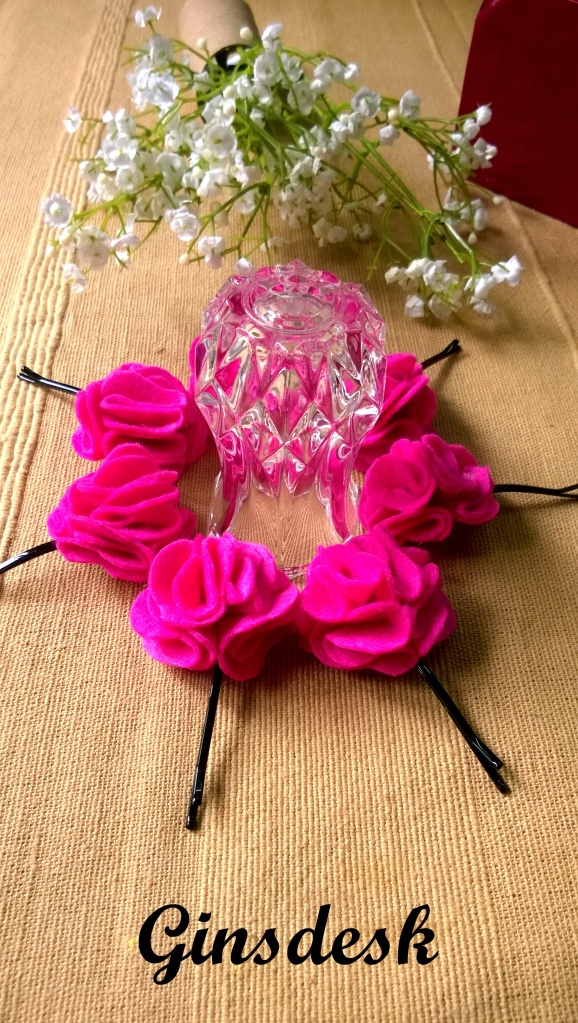
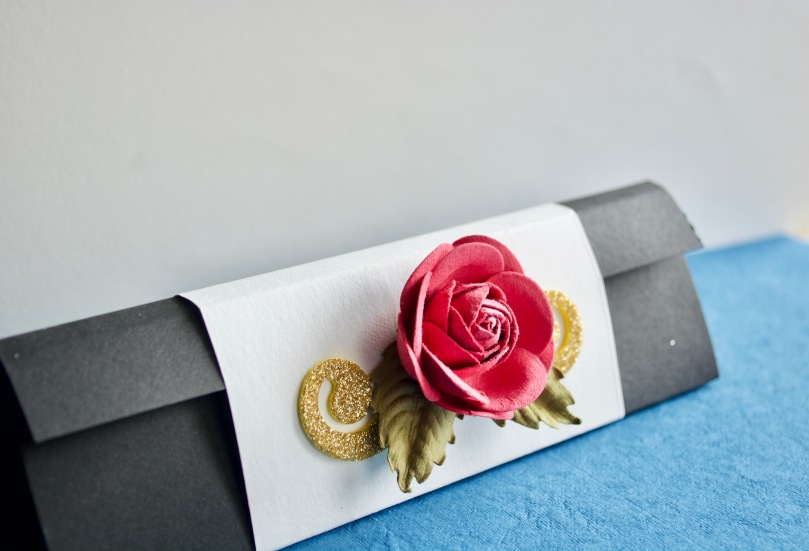
Recently after receiving a small request from a friend for a wedding card design the idea of making a box style card suddenly popped into my head. I thought to myself that it looks fancier and is something different. I couldn’t control myself the moment I got the idea and my hands were itching to start work on it. At the same point of time I had access to some pretty handmade flowers by Itsy Bitsy which I wanted to incorporate in my design. The color pink suited my need so  I chose a flower in pink to go for the decoration of  outer band which basically keeps the box closed.

DSC_0923s

I am quite intrigued by this new idea of a box style wedding card. For those of you wondering where is the invite since all I am talking about is the box and the box only then let me tell you, the invite basically goes into the box in the form of a roll. So basically the content will be printed on a separate fancy paper then rolled and kept inside the box. Voila !!! What do you guys think?

DSC_0929s

3D QUILLED FLOWER- TUTORIAL

I posted this flower on facebook sometime ago in the form of a simple card. Due to the 3D effect of flowers I ended up using the card in a photo frame without the glass of course and it looked so good that I went ahead and showcased it in a small society exhibition too. Many of our customers and friends really liked the idea of putting such a design in a photo frame instead of the usual family photos. It adds color and looks much more decorative.

I got a request from a fellow crafter on facebook who really wanted to understand the process of making this. I know many of us quillers find it very challenging to make the petals stand when working with just white glue. Some others resort to using hot glue or silicone glue to make such standing flowers but not all of us have access to those. I am aware that some of us don’t even like the final product after working with such glues as it shows on the bottom of the flower after it has dried out which does not give a very clean look to the flower.

So this tutorial is for those who want to learn making similar flowers in a simple way using white glue. Hope you will like it.

Please click on the link to go to the video tutorial- Here

DECORATIVE VASE

IMG_0262

After a long long time I went back to making paper flowers. I remember when I was new to crafting and started to read blogs online I came across the famous blogger Lia Griffith. I was amazed with the kind of work she did and how pretty all of it looked. One would look at it and wonder is that really made by hand, how is it even possible?

I then began following her tutorials on paper flowers. I learnt a few new techniques which I didn’t know existed. Anyways, paper roses were my all time favourites out of all the flowers she made. Back then I used to religiously practise making flowers due to which I got decently good at it. In the months thereafter I had to temporarily shift base to a different city which reduced my craft supplies to a basic minimum. I could only travel with quilling supplies which were the lightest to travel with. Flower making came to a halt for a few months.

IMG_0235

Now after the long wait and getting bored of quilling I thought of making paper flowers again. The need for a decorative vase arose when we had to host dinner at our new temporary house. Hence I came up with the idea of a decorative vase. I actually kept a candle inside to lighten up our dinner table.

IMG_0247IMG_0241

QUILLED ROSES

IMG_0384 (1)IMG_6902 (1)

Making roses out of quilling has always been one of my craft agendas but could never muster the courage to make use of needles/pins to form a design like this. But this time for this challenge I had assigned myself this particular project for this day thinking that I’d see how it goes. I know it isn’t that difficult a task for many experienced quillers but for me it was a different technique than usual. Eventually it turned out pretty good according to me, maybe not the best.

IMG_4834 (1)

My way of finding out was to ask my husband what does it look like to him? I showed him this project late evening and his reply was “looks like some flower”..Hmm so atleast it looked like a flower to him if not a rose. My initial response to him  was doesn’t it look like a rose to you and he blatantly said no. Saddened, I asked why and he felt the arrangement wasn’t that “rose like”,,lol.  I then showed him the actual picture which I was using for inspiration and then he rightly pointed out the flaws in my execution as opposed to what we saw in the actual pic. I tried incorporating the same points of correction in the second “flower”- the darker one . All in all I was happy with the result ..How do you guys like it?

RANDOM FLOWER

Being the third day of the challenge, reality had started to hit me hard wherein I realised its not as easy and exciting as it felt at the start of the challenge. It was not because of the hardwork one had to put into it because as a crafter I don’t think working with paper will ever cease to make me happy. The reality in this case was lack of newer and interesting ideas to work on.

Yes ofcourse pinterest,google, youtube are always at the rescue but what happens if you want to come up with your own idea and for some insane reason you feel that creativity should only come from the mind without any other source of help. Yeah I do get super pumped up some days of my life without understanding the consequences of my over enthusiasm. lol.

IMG_0793

This project is a result of the above stream of emotions. I wanted to make something exclusive but could not produce what I had pictured after all. No issues I guess. Cming to the project it is a simple wavy kinda spiral rose card. The reason I am not shying away from showcasing it here is because I feel I did manage to produce something by the end of the day and did not quit.

WEDDING DECOR ROUNDUP!!

Untitled

Finally I have a complete round-up of some of the things that can be used in a wedding or a party all of which are handmade and crafted by Rumgin’s Craft. I tried to encompass those little details of a wedding which normally tend to get ignored. Like the way presents and gifts are decorated or the small and cute envelopes. These small things make a huge difference. Plus hand crafted items naturally bring a special touch in everything you do.

Theme weddings are not very difficult to execute. Enhance your party/wedding using these unique products..To give you a fun summary of the theme wedding decoration kit that I have been posting in small bites, here is a photo collage and the links to each project below.

Roundup1

Roundup4

Roundup6Links for each item:-

Paper Cut Chandelier

Polka Dots Handbags

Paper Roses

Colored Dotted Envelopes

Greetings Card

Decorative Paper Roses Adornments

ROSES WITH ADORNMENTS

RosesetPic5

In the previous post I had shown only the paper roses, but now I bring to you the complete set with other adornments as a part of the decoration.So using just the flowers is extremely simple and elegant but using them in the way I have displayed below enhances your gift to a great extent. Rumgin’s Craft sells the whole set as a package too. So one can simply pick the whole set and stick it on to the present or like in this case over the bags we are using to give away the presents!!!

RosesetPic4

So the wait is over…This is how I would decorate the bags. Like I had mentioned in the previous post of Golden Polka Handbags  I have completed the the look of bags in this post. A combination of golden and pink is what I decided with the golden being used in the polka over handbags and also in a mesh behind the roses just like you can see.. Green leaf adds brightness to the whole look..And the best part is the dark pink tag attached below which you can see is being used to write a simple message for the person receiving the gift.. Isn’t it unique in its own way??

RosesetPic1

RosesetPic3

DSC_0007_signed

DSC_0020_signed

Now the gifts are ready, one does not need to wrap them with a paper or ribbons. All you need is one of these bags and a rose set to enhance the look. This whole concept has been designed by me and appreciated by a lot of people. Do let us know what you think of it…

PINK PAPER ROSES FOR A THEME WEDDING

Pinkpaperrosespic1

So here I am  beginning another series of posts which involve things which  will help you in packaging and decorating as per the set theme…For this, I decided to go with pink since it is in..I will begin with these beautiful handmade roses which will be used over gifts for decoration.. Mind you all roses are made out of paper, hence even more graceful. Paper art has its own charm isn’t it??

Also can’t stress enough on the various number of ways in which these roses can be used. Not just for wrapping but as an embellishment, a wreath could be made out of these, a bouquet for the bride, central table decoration in the wedding, on the groom’s coat or can even be hung in the hall to add color and vibrance.

However I have used them in a particular way and will be showcasing the final look  of roses later once I am done with all the embellishments..For starters, I will begin with these decorative roses..Do let me  know how you like them..

Pinkpaperrosespic2

Floral End Toothpicks

FloralEndToothpick Pic6After a long gap, here I am with another post on something very simple and useful.  I have been posting about stuff which could be used on festivals  so far and today I am posting about these beautiful and cute toothpicks or snack picks which are different from the usual. These toothpicks have miniature floral models on the holding end of the pick and these cute flowers are made of paper.Bite sized snacks can be served with these aesthetic toothpicks at parties and get-togethers.

FloralEndToothpick Pic2

Making use of such stylish things, be it small adds a classic touch to the party you are hosting and with such small ideas you are sure to gather praises from one and all.

FloralEndToothpick Pic4

FloralEndToothpick Pic1


Cute little roses

Cute little roses

Can anyone guess what are these made of????

I love these roses cuz as the headline of the blog explains these make my life sooo soo much easy… I can use them in cards, i could decorate my wall collage with them, i could decorate my gifts with these colorful small delights…

Now the answer to the above question- i made these little roses out of paper 😀

Yes, and they hardly take anytime to make, besides you could make them in all sizes, depending upon your requirement..